Friday, January 19, 2007

Pattern of All Patience

So after I vacuumed out my bug, I saw the grill around the speedometer, and the really dirty screen backing them. So I sandblasted and painted them. They look really good now, and it makes such a difference to look at. Its cool how subtleties can do that.

Photobucket - Video and Image Hosting

Anyway, with my fuel gauge out, I decided to replace the broken plastic shield. I had the brilliant idea of replacing it with a CD case, I was very proud. The original was about .065" and the CD case was .040" so it was thinner but not by too much. I cut it out like you would cut glass, and it looked really good. In this picture you can only see the edges and the crack in the original, but you get the point.

Photobucket - Video and Image Hosting

I should have stopped there, but I wanted to shoot white grease into the wire tube to make the wire move more freely in it. I had to take it apart to get to the tube. Like a litany I repeated "don't break the needle", but like an idiot brute, time and time again, I broke the needle. This time it wasn't so much my fault as it was an unfortunate mistake, though.

Photobucket - Video and Image Hosting

Just like my speedometer I wanted to make a new one. I had beads made out of bone, and I knew it was going to be perfect. I ground down to the basic size, then filed and sanded it to within a hundredth of an inch in all dimensions.

Photobucket - Video and Image Hosting

I ground out the new center, using my dremel with a mill-like cutter.

Photobucket - Video and Image Hosting

A perfect match in depth.

Photobucket - Video and Image Hosting

I drilled a very small hole to press the needle into. an incredibly close tolerance hole, I couldn't believe it came out so perfectly.

Photobucket - Video and Image Hosting

After some shaping of the needle, it was a perfect fit. I couldn't make that nifty little tail for a counter-weight like the original had, but I offset the hole to achieve the same purpose.

Photobucket - Video and Image Hosting

I was meticulous. I was "the pattern of all patience." four hours in the making, and I couldn't have made a mistake if I had tried; everything was coming together perfectly.

Photobucket - Video and Image Hosting

I had it. Everything was together. At any point something could have broken, but it hadn't and it was now the last step. To cinch the top of the shaft over the new needle, like a rivet. This had to be done by hitting it with a tapered punch. so I did it.

Perfect. It worked perfectly. but the needle won't move with the wire! I knew the problem, the rivet wasn't pushing down hard enough. This time I ground off the tip of the punch so it would push down the sides more, and hit it.

no change. hit it again. still nothing. one more time. IT BREAKS!!!!! I kinda wanted to laugh.

I really wish I had a picture of it before it broke, because it looked really good.

Photobucket - Video and Image Hosting

Photobucket - Video and Image Hosting

This was my biggest hang-up from the very beginning. The needle goes over the shaft labeled #2, which has splines to make sure it catches the needle. But the lever labeled #3 rotates freely on that shaft, and only turns the needle by friction, because the needle is pushed down by the mushroomed shaft labeled #1. This was done so the needle could be adjusted, which is necessary. My hang-up is that I had to drill off the edges of the mushroom to take off the original broken needle, so I didn't have as much material in the shaft to mushroom over the new needle! I had originally solved this with a rubber o-ring that would catch the lever, but it wouldn't fit beneath the plate, and so I went along with the original design, which didn't work for me...

I'm keeping the needle, since it is in good shape, and I think at some point I will try again to fix it, we'll see how it goes.

Thursday, January 18, 2007

Thermo-Aesthetics

Well I've just finished the beginning of a long project of painting my wheels. I started with the spare tire. I muscled off the tire, then sandblasted the wheel, using the spiffy new media-blaster I got from santa. Here is what the wheels look like to begin with.

Photobucket - Video and Image Hosting

Starting on Thursday Jan. 11, I sandblasted and primed my first wheel.

Photobucket - Video and Image Hosting

I'm in love with this sandblaster. Now that I have it I want to sandblast everything. This wheel is down to bare metal.

Photobucket - Video and Image Hosting

On the 12th I added a second coat of primer, white this time. and let it dry for 48 hours

Photobucket - Video and Image Hosting

Sunday the 14th, 48 hours later, I added color; it's the same as the bumpers, Ivory gloss. I sprayed multiple coats, then let it dry 48 hours. Tuesday the 16th I added the clear gloss coats and let it dry another 48 hours.

Photobucket - Video and Image Hosting

Thursday the 18th it was dry and ready to put back on. I muscled on the tire being very mindful of the new paint, but still I managed to chip off a good strip on the front of the wheel, down to the first coat of primer. That really ticked me off, but this wheel is the practice run for the rest of them, being the spare. I'm going to practice painting bare metal, because I've had chipping on my bumpers too. I think it is from not sanding the primer coat before painting, which I didn't think was necessary, but we'll find out with my experiments. Anyway, I patched up the scars so they only look a little lumpy, and then stuck it on. I'll admit I'm not as stoked on it as I first thought I would be. There is just something wrong with the aesthetics.

Photobucket - Video and Image Hosting

In this picture I Photoshoped the rear wheel, running board, and blinker to match. This should be pretty close to what they will look like. I'm undecided about painting the running board, but I think that is another aesthetics problem.

Photobucket - Video and Image Hosting

On to other projects! I finally found the use for my tranny-hatch!! because my transaxle leaks so much gear oil, I have to refill it every now and again. Before, it involved jacking up the car, removing a wheel, climbing under, and squeezing into very tight, oily spaces. but now, I just pop the hatch, and BAM! its done! I am so very stoked.

Photobucket - Video and Image Hosting

and I also painted my stick shifter. I did it in a hurry, since my daily driver is useless without it, but it looks good. This was prompted by the rattling noise it made while driving. I had only planned on re-greasing it, but I went a step further and painted it too.

Photobucket - Video and Image Hosting

Saturday, December 30, 2006

I love you, Sugar..

Its been a good while since I've updated. There are a number of things that I have done with my bug. Since my last post, I've painted my wiper arms, a project that was prompted by my wiper motor failing. I tore it down and found this reduction gear had stripped.


It was a 6volt motor and it went wild, high on 12 volts, which probably caused the gear to strip, so I bought a 12v conversion armature from aircooled.net. But without a solution for the gear it was useless. I posted a want ad on the central coast forum and Doug Z(?) aka "BoysBug" was cool enough to let me buy a whole assembly from him. He's a good guy with a couple Herbies. This was all in mid-october.


They look good on there and I think the chrome on the blinkers is next. I'm going to do all the rusty trim that I can't afford to replace.


After that I began digging around behind my back seat and, sadly, found lots of corrosion. It is ugly.


I can't afford a proper fix right now, so I hippie fixed it. with some ply and carpet, grabbed from a back alley, I made a cover. and I used some more carpet under the window to insulate it. I was mostly concerned about fumes and sound.


A little insulation


The carpet I found in an alley, stapled to ply.


nice fit.


aesthetics.

It actually quieted it down a lot! and now I have a little access window to my tranny and starter and all that goodness, hopefully one day it will be useful. It is still crappy looking though, but someday I'll do it proper. This was sometime in November.

Early December I was driving home and, just as I turned into my neighborhood, my engine died and I was able rolled all the way to the front of my house. I checked gas. ok. I checked spark to the plug. nope. I checked spark from the coil. nope, but its a new coil. I looked under the dist. cap and didn't notice anything at first, then I saw that the plastic rubbing block had broken off the points. I had an extra set of points and I was rolling again in no time. I should have adjusted my points a long time ago, because the engine responded really well. A friend was at my house when all of this happened, working on his toyota. He told me "you need to get a chevy" I said that if it had been a chevy, I couldn't have done something like that in 20 minutes, like I had.

December 18: I bought new tires for all five. It's good to get that off my mind, but it hurt. They aren't white-walled and I think they are uglier.

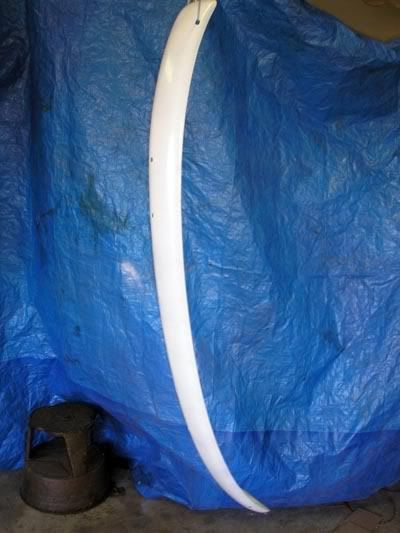
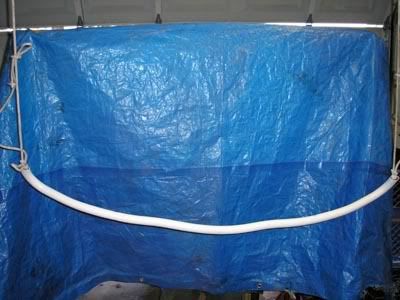
Two weeks ago I began grinding my rear bumper to paint it also. I finally put it back on this Tuesday, and it looks mighty fine!


I was thinking about doing something like this..


no, not really... this bus has a stinger... haha... I saw this at the Solvang show.

Next project are my wheels. When they are finished it should look amazing. It will take a long time to finish them all, but it'll get done. I saw these wheels at the Solvang show also, I really liked them...

Tuesday, October 17, 2006

Feng Shui

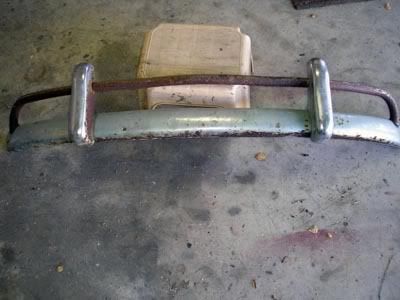
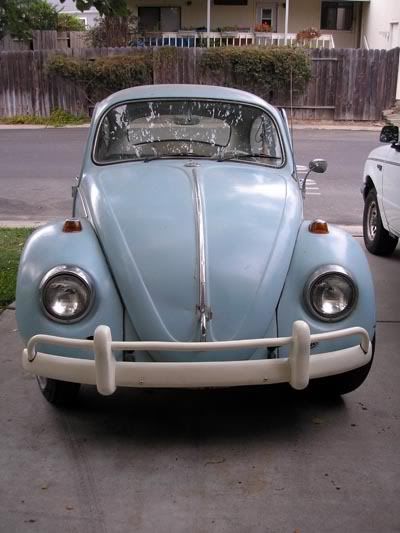
I've really been trying to make my bug look less old and more classic, especially for the neighbors because it tends to give them a little more patience for it. Well my after-market bumpers are getting rusty and I can't afford new ones so I decided to paint the front one to see how it turns out.


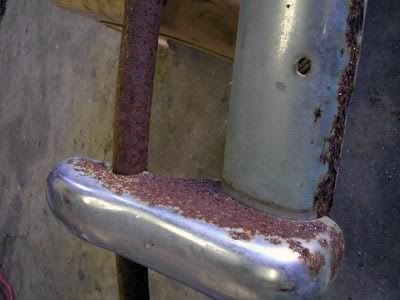
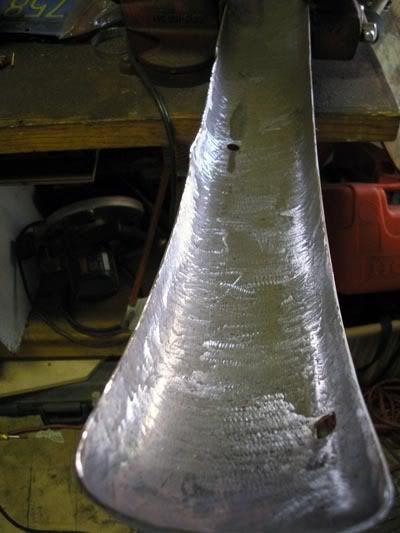
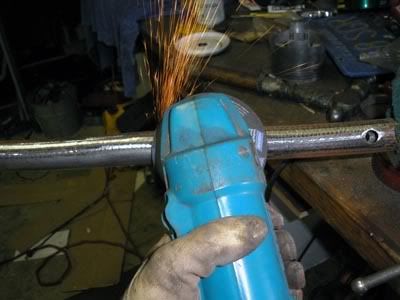
I ground off all the rust. what a pain.


Then I rattle-can primed and painted them Ivory gloss.


It looks surprisingly good! It matches the steering wheel and knobs and tray inside. I'm going to do the same to the wheels and rear bumper and what ever else I can so it's all feng shui (googled that ish!). I'll save myself the pain and have the rest media blasted and get new tires for the wheels but first i'll need a little cash so it will have to be put off for a little while.