Tuesday, September 26, 2006

Seat belts

I ordered new vintage style three point seat belts at cip1.com for $30 each. They are non-retractable and I wanted to make them retractable by using the belts I already have. I started by cutting off the belt's metal piece.


Here it all is, disassembled. The first time I took it apart the spring unraveled in my face.


The pin goes through the spool and the belt around the pin. I left a little stub where it was stitched together so it couldn't pull through the pin and I wouldn't need to stitch an overlap myself.


Here the pin is through the spool and mount bracket, the black plastic is the spring and it goes on the top of the pin.


The shiny metal piece disengages the lock when the strap is wrapped fully around the spool and it needed a little adjusting. The spool was sticky but with a little white grease spray it retracted really smoothly.


I'll admit that I had to disassemble the whole thing five times on the first belt because it was backwards or I forgot to put the plastic on or both but the second time it went quickly and I only assembled it backwards once.


Well here it is and it looks pretty good all retracted and everything. It was a simple project and only took an hour (because of screw-ups) but I saved at least $100.

Tuesday, September 12, 2006

Fuel Gauge

My next project was to get the fuel gauge working again. Besides a ridiculous amount of varnish build-up on the bobber pieces, the new gas tank is smaller and the bobber wouldn't rotate all the way down. I needed to shorten the rods to make it work. Once again this idiot brutte broke something. The rod was stuck in the small brass piece and broke off when I tried to pull it out.


The other rod was easy enough to cut. I took an even inch off both rods.


After I scraped off all the varnish I found that the bobber was filled with a lot of gasoline. I poked holes in it and drained the gas, then I plugged the holes and sealed the rim with JB Weld


To fix the piece I broke I needed to make a new one. I bought this brass hammer from ACE Hardware and planned on using some of the handle material but it was hollow with screwdrivers inside. There was still enough material in the head to get what I needed.


I cut the head in half and ground off enough material for it to fit in the chuck of my drill press. I turned and cut it with an assortment of files, shaping it to match the original, taking close measurements.


I cut the three steps at the correct lengths to match the original and then a groove for the o-ring to fit in. A notch was made for a screw to hold the arm in place like the original


And finally a hole needed to be drilled for the rod to be pressed in.


Here it is finished and pressed on to the rod of the bobber.


And here is the whole assembly put together. You can see where the brass piece I made fits in.


This is the piece that screws onto the top of the gas tank. You can see the arm with the screw that fits into the notch of the brass piece I made. The arm pulls or pushes the cable, mechanically moving the needle on the fuel gauge.


And Finally here is the gas gauge. It's pretty accurate after I adjusted it!

Monday, September 11, 2006

Axle boots and Speedometer

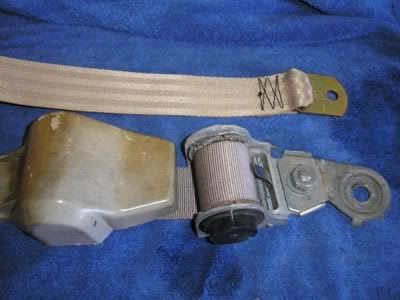
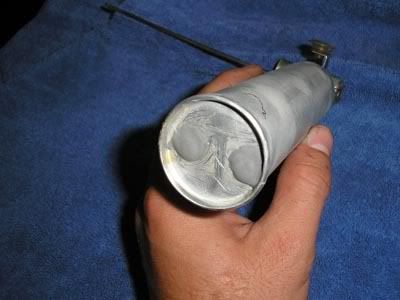
Well since I've been home I've been driving around a lot. There were two immediate things I noticed needed to be taken care of; the speedometer screamed like a banshee, and I left puddles of smelly gear oil from the transaxle every time I parked. I took care of the axle boots first, thinking they were the problem. This picture and brief description is an insult to the four hours I spent cleaning grime and stinky gear oil from the transaxle, axles and cradle horns to prep for the new boots. But there it is, one of the new boots, in all it's glory. Too bad the old boots weren't torn and the leak is coming from the axle plate.


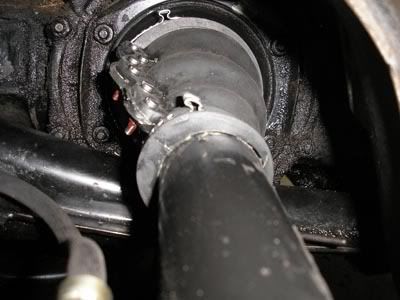
I was really amazed that the old axles weren't torn because they were the original axle boots and 40+ years old.

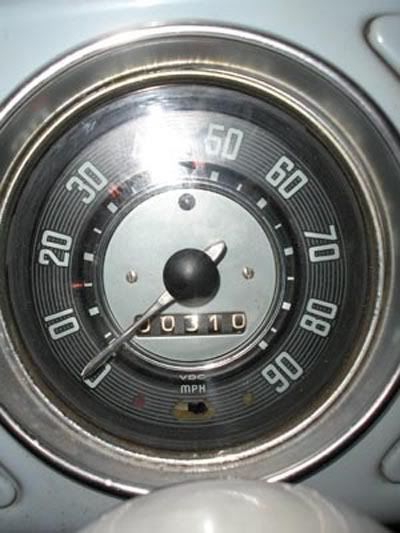
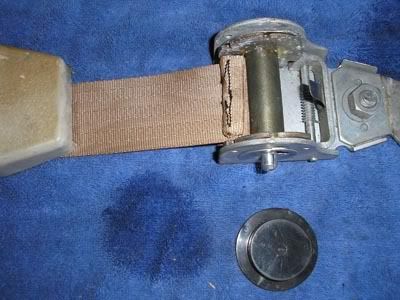
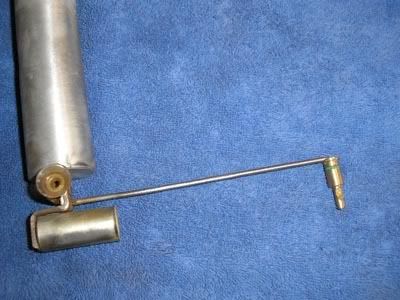
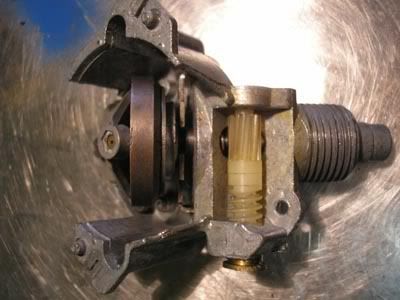
The speedometer was much more fun. To take it apart the glass cover needed to be pried off. then two screws from the back to take it out of it's case, and this is what's left


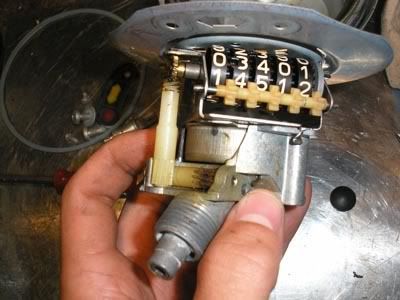
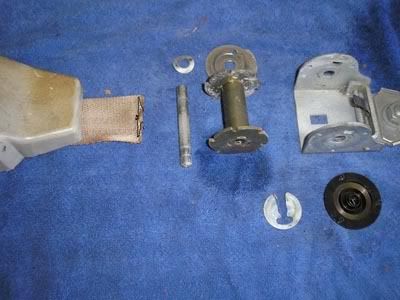
From there it split in two parts. Here is the side with the magnet; it was what made all the noise. All I needed to to was disassemble, clean and re-lube and I would have been in business, but I wanted to fart around with the odometer.


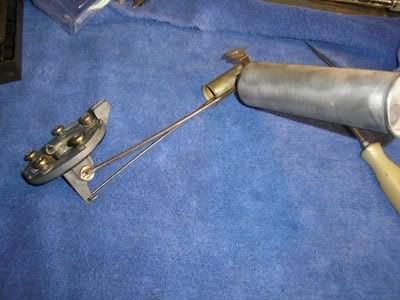
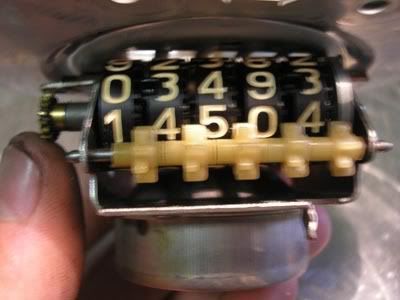
Here is the other half with the odometer and gears.


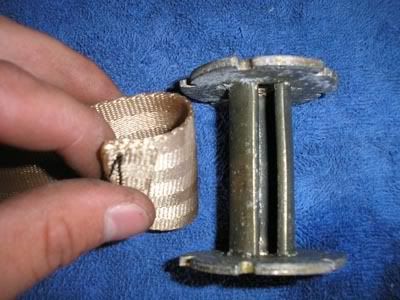
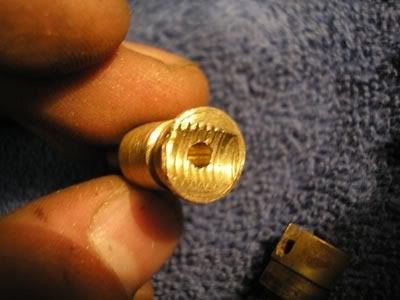
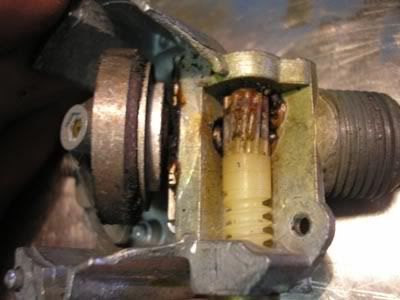
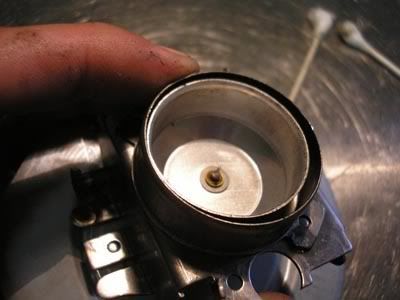
The magnet spins inside this wheel that directly turns the needle and a spring on the other side offers resistance to take the needle back to zero.


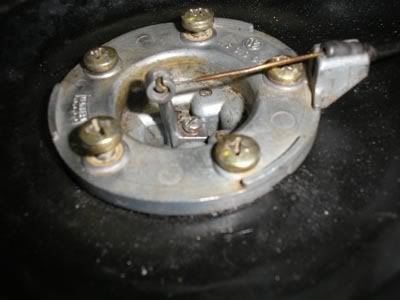
I cleaned these too and re-lubed them and then figured out how to reset the odometer. I put it at 300 miles since that is how many I figure I have on the engine.


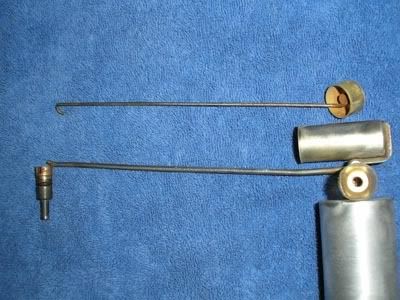
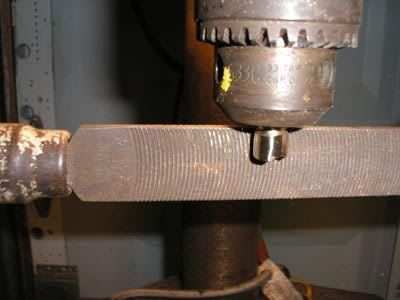
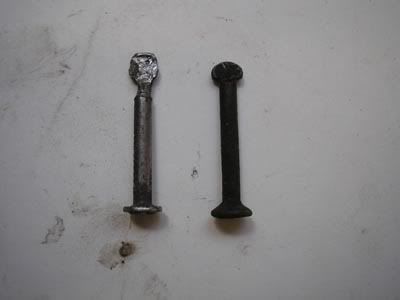
But I'm an idiot brutte and broke the needle. I wasn't going to throw away a good speedometer for a broken needle so I set out to make one.


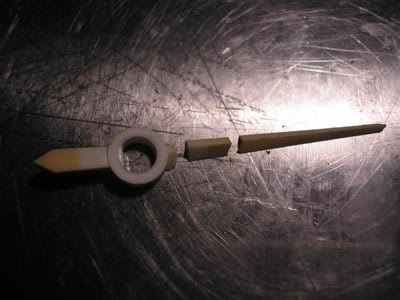
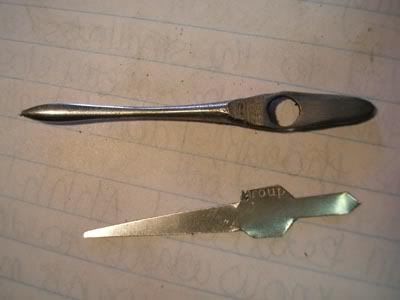
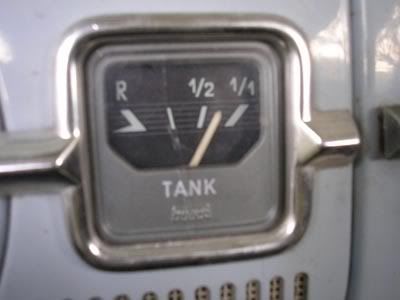
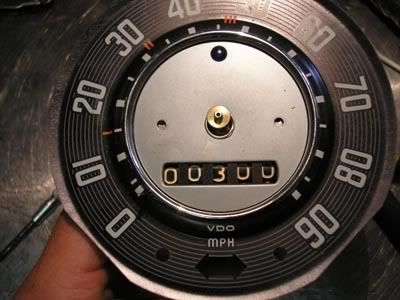
I made the bottom one first from really thin sheet metal and the top one was made out of a dentists tool. At first I didn't think about counter balancing it, but when I tested the speedometer it would barely move. I had to grind as much of the underside to make it as thin as possible and on the opposite side I soldered on a large lump to balance it out. The original needle is plastic and smaller and a LOT lighter, but I balanced it out as well as I could and put it in the car.


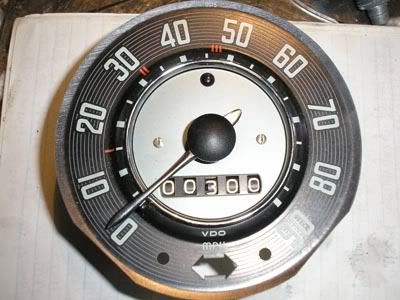
It's a little off though, especially in the higher range, but it sure looks pretty. The obnoxious whine is also gone.

home

Well since my last post I have made it home and this is all that happened.

To finish my brakes, I went to Unique Supply in Redlands and picked up front cylinders and a hose. But when I began to reassemble the brake shoes I couldn't find a pin! The smallest and most worthless piece of the whole brake assembly! I wasn't going to drive back down the mountain to get another so I made one from a nail! ha! It looks shabby but it will hold as well as any of the others!


When I left camp I had barely driven the bug a hundred yards and I planned on driving it 100 miles to Pasadena, but I was getting bad vibes before we reached the bottom of the mountain and decided to take it to Wally's mechanic "Jenks" in Fontana. When I saw Jenks shop I was immediately skeptical, it had all the tools you could want but it was a wreck. The dirt yard around the shop was worse, littered with (a lot of) gaskets, retaining pins, old cylinders, brake drums, and brake shoes. In fact the only trash I saw was piled high with beer cans and bottles! There were a bunch of volkswagens and a sand rail. Jenks wasn't there but talking to the other guys I realized they knew there stuff. I left the bug there and resigned myself... A few days later and a few very brief talks with Jenks I got my bug back.. with a hefty bill. Jenks converted it to 12 volt using my alternator and other parts, he adjusted the brakes, put in new shift linkage, put in larger jets, adjusted the carburetor and set the timing. I was surprised what a great job he did. It was the first time I met Jenks and he was far from what I expected after seeing his shop. He was short-spoken and you could tell he really knew his stuff. He gave me a good laugh because after I had paid him and I left to fill up on gas he called me and said that ARCO gas was crap, which is where I was headed. If I'm ever down in Fontana and need work on my VW I'll definitely give Jenks a call!