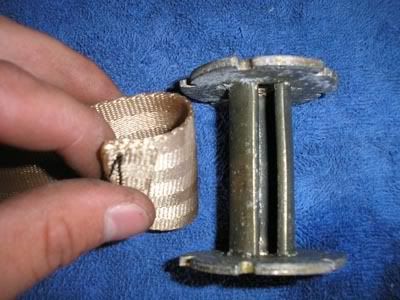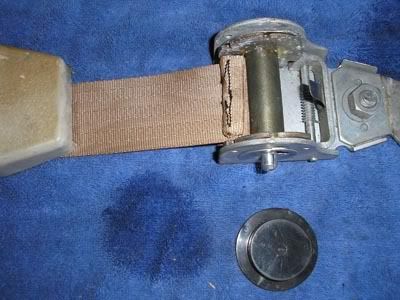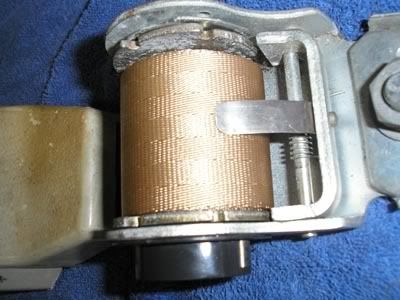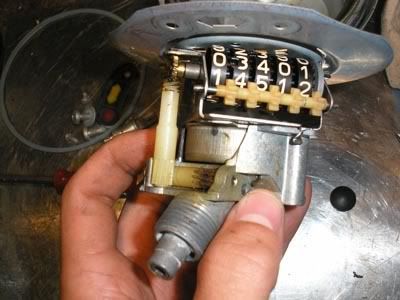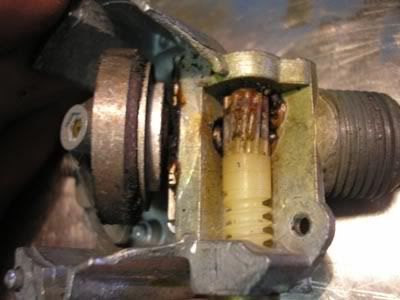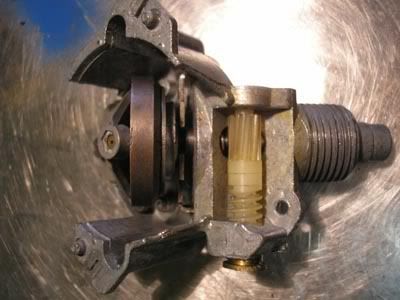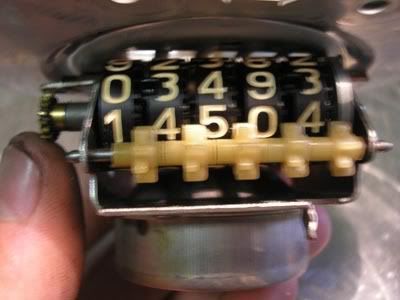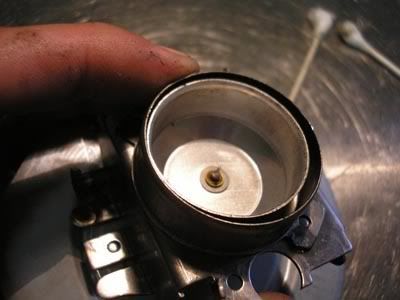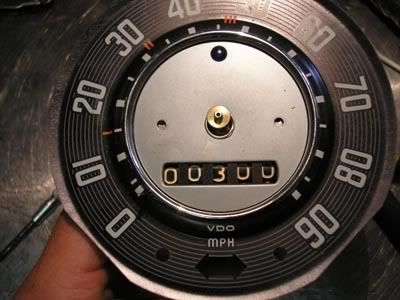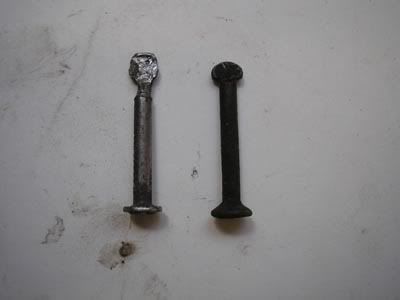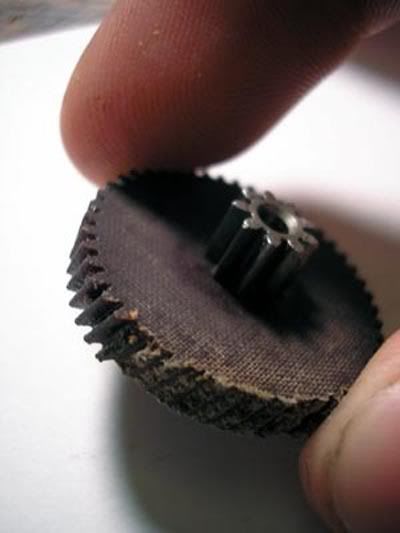
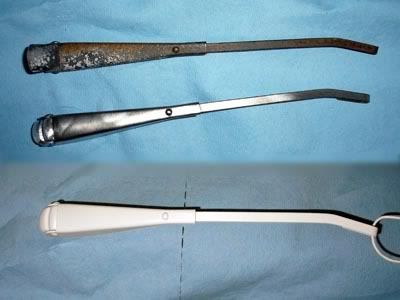
It was a 6volt motor and it went wild, high on 12 volts, which probably caused the gear to strip, so I bought a 12v conversion armature from aircooled.net. But without a solution for the gear it was useless. I posted a want ad on the central coast forum and Doug Z(?) aka "BoysBug" was cool enough to let me buy a whole assembly from him. He's a good guy with a couple Herbies. This was all in mid-october.
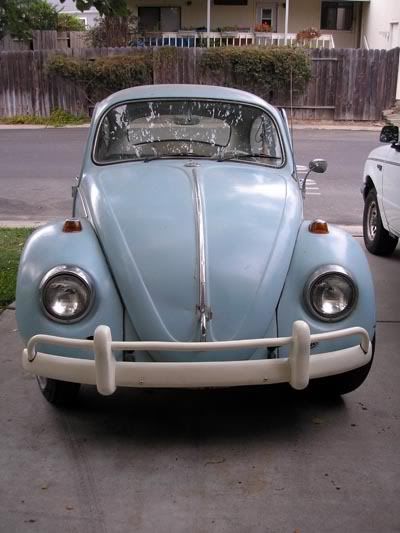
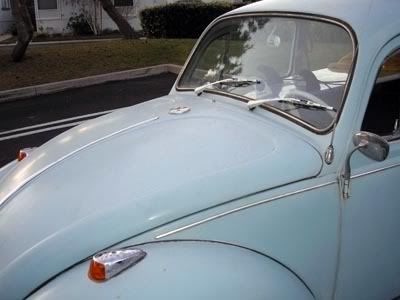
They look good on there and I think the chrome on the blinkers is next. I'm going to do all the rusty trim that I can't afford to replace.
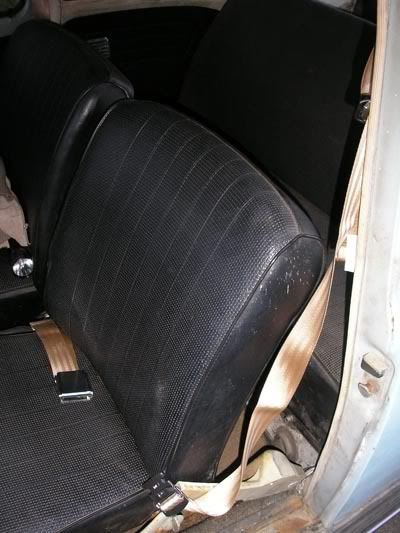
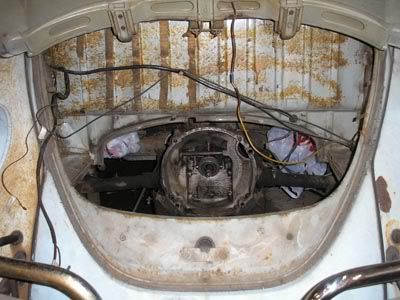
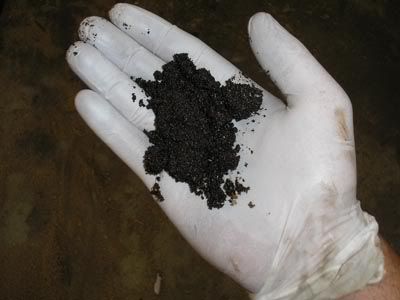
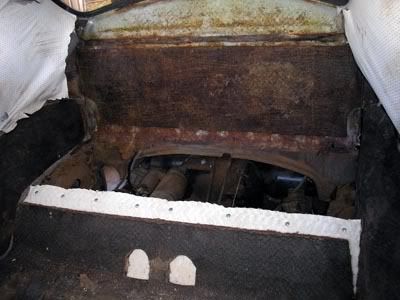
After that I began digging around behind my back seat and, sadly, found lots of corrosion. It is ugly.
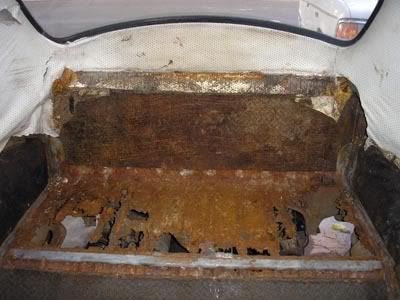
I can't afford a proper fix right now, so I hippie fixed it. with some ply and carpet, grabbed from a back alley, I made a cover. and I used some more carpet under the window to insulate it. I was mostly concerned about fumes and sound.
A little insulation
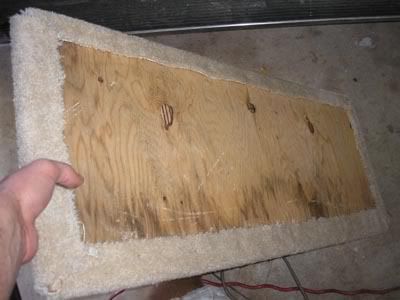
The carpet I found in an alley, stapled to ply.
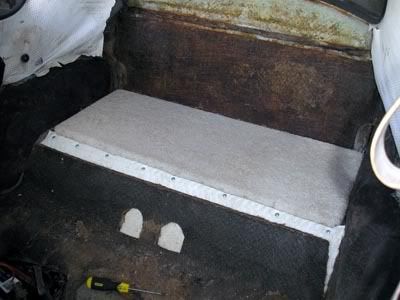
nice fit.
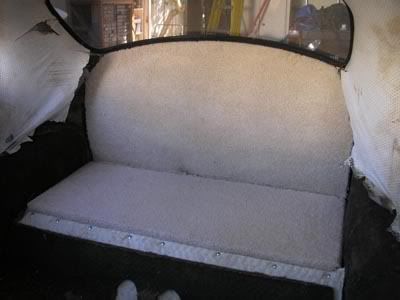
aesthetics.
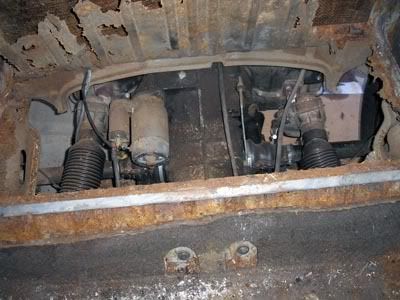
It actually quieted it down a lot! and now I have a little access window to my tranny and starter and all that goodness, hopefully one day it will be useful. It is still crappy looking though, but someday I'll do it proper. This was sometime in November.
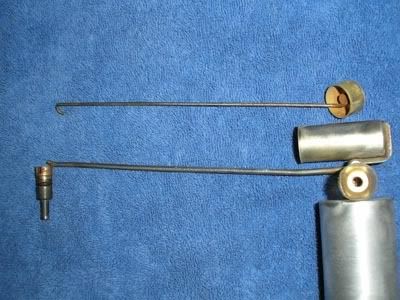
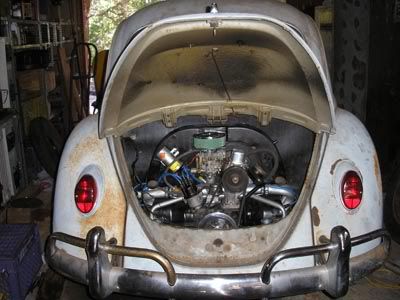
Early December I was driving home and, just as I turned into my neighborhood, my engine died and I was able rolled all the way to the front of my house. I checked gas. ok. I checked spark to the plug. nope. I checked spark from the coil. nope, but its a new coil. I looked under the dist. cap and didn't notice anything at first, then I saw that the plastic rubbing block had broken off the points. I had an extra set of points and I was rolling again in no time. I should have adjusted my points a long time ago, because the engine responded really well. A friend was at my house when all of this happened, working on his toyota. He told me "you need to get a chevy" I said that if it had been a chevy, I couldn't have done something like that in 20 minutes, like I had.
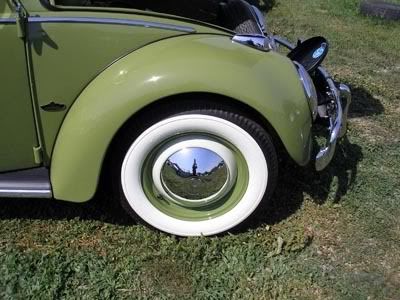
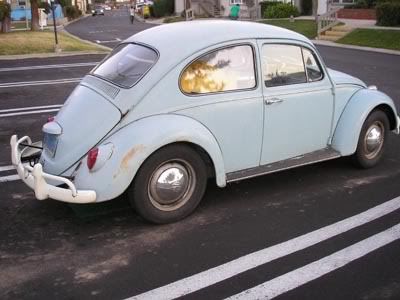
December 18: I bought new tires for all five. It's good to get that off my mind, but it hurt. They aren't white-walled and I think they are uglier.
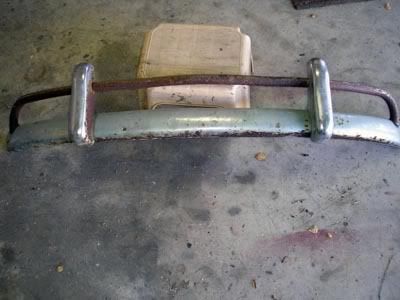
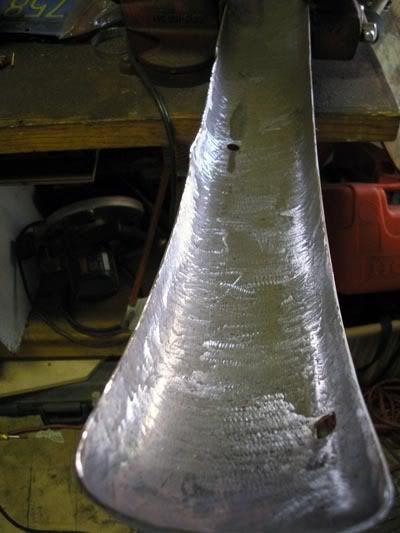
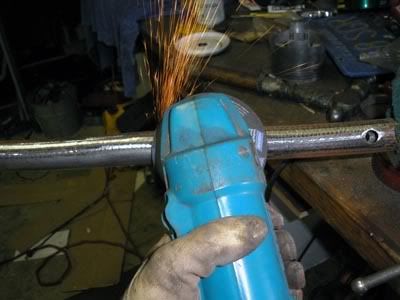
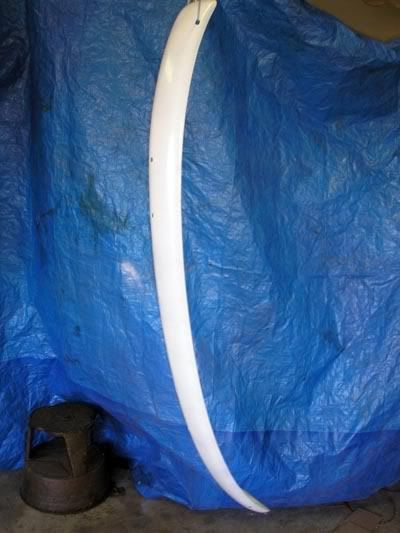
Two weeks ago I began grinding my rear bumper to paint it also. I finally put it back on this Tuesday, and it looks mighty fine!
I was thinking about doing something like this..
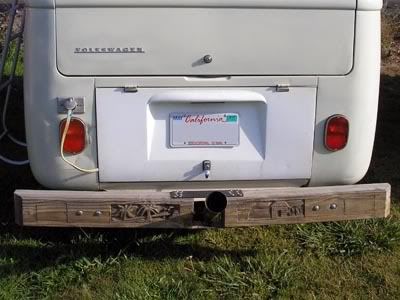
no, not really... this bus has a stinger... haha... I saw this at the Solvang show.
Next project are my wheels. When they are finished it should look amazing. It will take a long time to finish them all, but it'll get done. I saw these wheels at the Solvang show also, I really liked them...